How to Set Up an In-House Histology Lab: Equipment & Savings
Bringing a histology lab in-house can help healthcare practices and research facilities. It improves turnaround times. It also helps with quality control and cost efficiency.
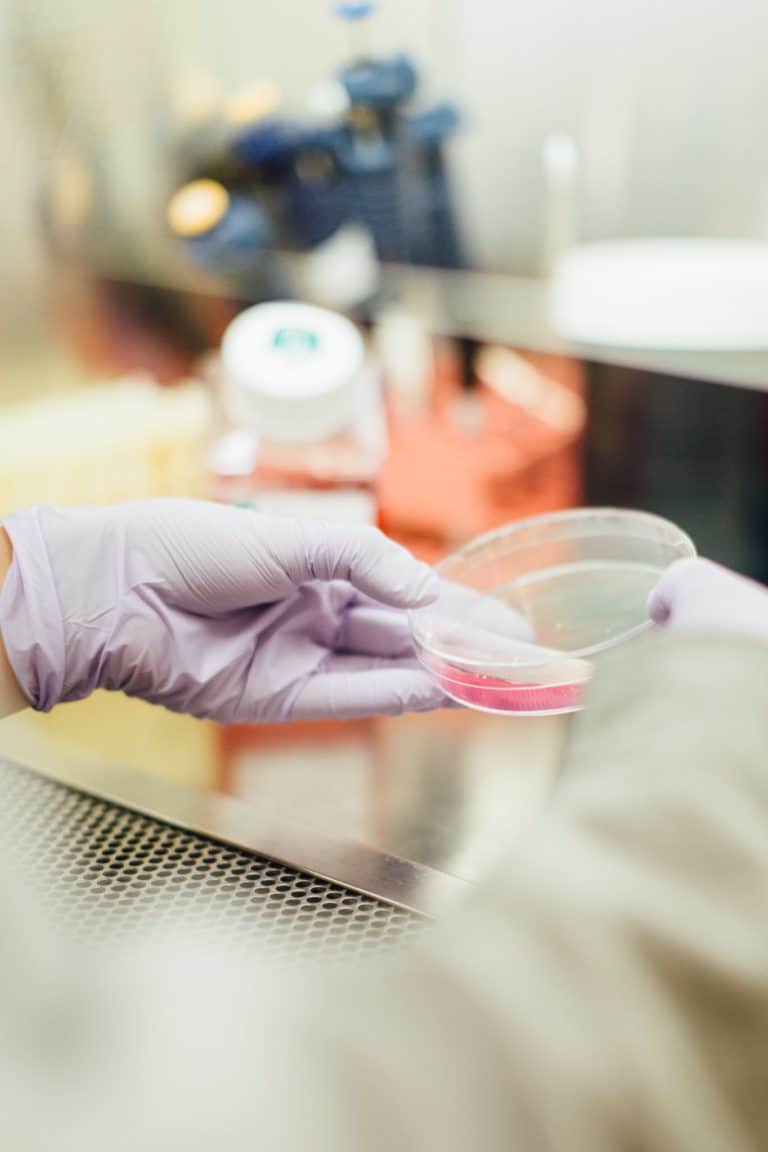
You can process samples in-house instead of sending them to an outside lab. This means you won’t have to wait days for results. An internal histology lab allows you to embed, section, and stain samples right on-site. This gives your team complete control over the workflow and results.
If your organization considers this move, you must understand what’s required to get started. In this guide, we will discuss the essential equipment for a histology lab.
We will also cover space and staffing needs. You will learn about the best practices for setup. Finally, we will share ways to build your lab affordably, even with little upfront investment.

Why Bring a Histology Lab In-House?
Outsourcing lab work can be convenient at first, but it comes with growing costs and slower diagnostics. Establishing an in-house histology lab creates long-term value across efficiency, quality, and finances
1. Faster Turnaround Times
Specimens can be processed immediately rather than shipped to an external provider. This allows physicians and pathologists to diagnose and treat patients faster, improving overall outcomes.
2. Better Quality Control
In-house technicians can monitor every stage — from fixation to staining — ensuring consistency and accuracy. This hands-on oversight reduces errors, contamination risk, and slide reworks.
3. Reduced Costs Over Time
While the initial setup requires some investment, the long-term savings are substantial. You’ll eliminate per-sample outsourcing fees and gain flexibility to process higher volumes without paying external surcharges.
4. Greater Operational Flexibility
Your lab can focus on urgent cases. You can try new staining methods or change the workflow. You do not need to depend on third-party schedules.
5. Enhanced Data Privacy
Keeping specimens and reports in-house helps maintain confidentiality and compliance. This is a growing concern in medical and research facilities.
Histology Lab Essential Equipment Checklist
A successful in-house histology lab equipment setup requires the right tools for each step in the tissue processing workflow. Here’s what you’ll need to operate efficiently and meet professional standards.
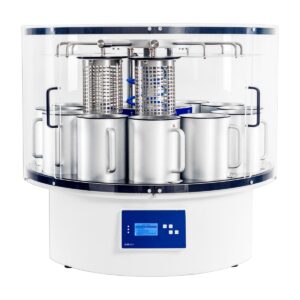
1. Tissue Processor
The tissue processor is the heart of any histology lab. It removes water from biological tissues and replaces it with paraffin wax or resin to prepare for embedding. Automated processors streamline this process, reducing technician time and ensuring consistency.
2. Embedding Center
Once tissues are processed, an embedding station allows technicians to orient and encase samples in paraffin. Choose a unit with a heated paraffin reservoir, cold plate, and ergonomic design to improve workflow comfort and precision.

3. Microtome
The microtome is used to slice ultra-thin tissue sections for microscopic analysis. Rotary microtomes are the most common in modern labs, providing stability and uniformity for high-quality sections.

Optional add-on: A cryostat (for frozen sections) can complement your main setup for rapid intraoperative diagnostics.
4. Water Bath and Slide Dryer
After sectioning, slides are floated on a heated water bath to remove wrinkles and ensure smooth adhesion. A slide dryer then helps fix sections quickly without overheating, maintaining tissue integrity.
5. Staining System
An automated stainer can dramatically reduce manual handling time while improving consistency in hematoxylin and eosin (H&E) and special staining procedures. This ensures accurate color differentiation for clear diagnostic interpretation.

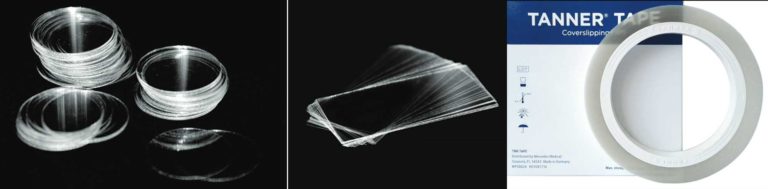
6. Coverslipper
Automatic coverslippers apply mounting medium and cover glass to slides uniformly, protecting tissue samples and improving presentation quality for pathologists..

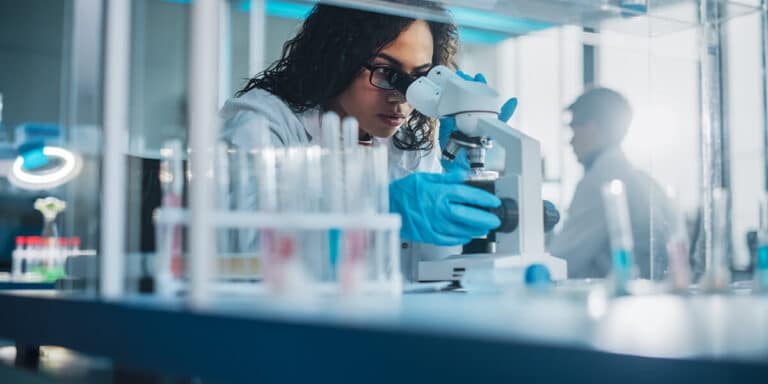
7. Microscopes
Every lab needs one or more high-resolution microscopes for analysis. Depending on your scope of work, consider compound, polarizing, or digital microscope systems that integrate with imaging software.
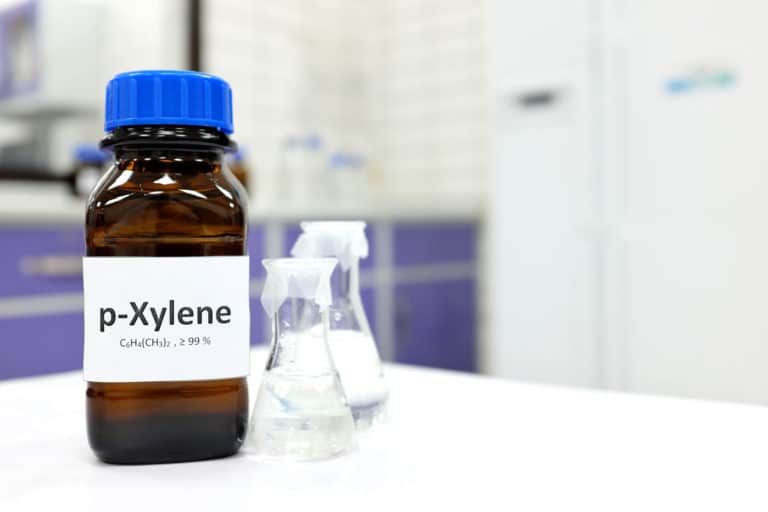
8. Ventilation and Fume Control
Because tissue processing uses chemicals like xylene and formalin, proper ventilation is critical. Fume hoods or downdraft tables maintain air safety standards and protect staff health.
9. Storage and Archival Systems
Histology requires organized storage for cassettes, slides, reagents, and specimens. Fireproof, temperature-controlled storage maintains sample integrity and compliance with medical record retention rules.
10. Laboratory Information Management System (LIMS)
Digital systems streamline sample tracking, labeling, and reporting — especially important for high-volume clinics and research facilities.
Space and Infrastructure Requirements
Before purchasing equipment, assess your available space and utilities. A functional in-house histology lab equipment setup requires:
Tip: Start small — you can design a modular setup that scales as your workload grows.
Staffing and Training Considerations
A histology lab’s success depends as much on its people as on its equipment. Depending on your workload, your team may include:
Training your staff on new instruments and digital workflows ensures your lab operates at peak efficiency from day one. Many equipment providers include training as part of installation packages.
How to Minimize Upfront Costs
For clinics or small research groups, the main barrier to creating an in-house lab is the high cost of equipment and setup. Fortunately, there are flexible options available to make this transition easier.
1. Leasing or Financing Programs
Working with a supplier that provides leasing or financing lets you pay for your lab in easy monthly payments instead of one large amount. This preserves cash flow while you start processing specimens internally.
2. Refurbished Equipment
High-quality refurbished instruments can perform just as reliably as new models at a fraction of the cost. Many suppliers provide warranties and service contracts to ensure dependability.
3. Modular Expansion
Start with core processing and staining systems, then add automation or additional workstations as your volume grows. This phased approach spreads costs over time.
4. Supplier Support
Some providers, like Histology Equipment offer complet lab setup solutions. They help with equipment selection, installation, and training. This comes with low upfront costs. This turnkey approach ensures you’re operational faster without overspending.
Implementation Tips for a Smooth Setup
- Plan Your Workflow Early. Arrange stations logically to minimize specimen movement and technician fatigue.
- Standardize Procedures. Develop SOPs (Standard Operating Procedures) for consistent, compliant operations.
- Schedule Regular Maintenance. Prevent downtime with routine inspections and calibration.
- Monitor Safety and Compliance. Keep up-to-date with CLIA, CAP, and OSHA guidelines.
- Engage a Partner. Work with experienced lab equipment specialists who can design, install, and service your system.
Visit the About Us page to learn more about experienced partners who can guide your setup process.
Long-Term Benefits and ROI
Once your histology lab is operational, the benefits extend far beyond immediate savings:
Over time, these advantages combine to create measurable ROI — financially, clinically, and reputationally.
Final Thoughts
Starting an in-house histology lab might seem like a big step. However, with good planning and the right partner, it can be a manageable and rewarding investment.
By choosing the right histology lab equipment and optimizing your setup, your facility can get faster results. You can also improve quality control and gain more independence in diagnostics. Additionally, using programs that lower upfront costs can help you achieve these benefits.

If you want to explore your options, contact Histology Equipment. They are experts in setting up histology labs. Their solutions help you start with little upfront investment.